Wednesday, April 30, 2025

Paper Board Tag Tutorial

 Hi friends! It is the last day of April and I have a tag to share with fun techniques.

Please note: this post has affiliate links, for which I receive a small percentage of sales generated by the link, at no extra cost to you.

Layers of ink - Paper Board Tag Tutorial by Anna-Karin Evaldsson.

I always liked these boards that hold paper in place and wanted to make one with dimension, for a tag with a 'take note' theme. The background was stamped and then inked with Distress Ink för a resist effect. I also used embossing powder to create a faux metal look to some of the details.

Die cut with Tim Holtz Vault Edge.

Cut pieces of thin notebook paper and die cut the edges with Tim Holtz Sizzix Vault Edges die set.

Stamp with Simon Says Stamp Ledger Paper.

Stamp the papers with Simon Says Stamp Ledger Paper stamp and Cobalt blue ink.


Die cut boards and clips using Tim Holtz Vault Noteworthy set. Die cut quite a lot of boards from kraft paper and then glue them together.

Assemble the board.

When you glue the kraft paper boards together the board becomes thick and sturdy, almost like wood. Ink the edges. Emboss the metallic parts with several layers of silver powder. Be very careful and do not touch the melted powder until it has cooled down completely. Stamp a sentiment. 

Stamp with Tim Holtz Tiny Textures.

White emboss Tim Holtz Tiny Textures on a tag.

Ink with distress ink.

Ink with Distress Inks.


Stamp a sentiment on the top papers and shape the others a bit, for dimension.


Stamp sentiments and arrows and glue Simon Says Stamp Pawsitively Dazzling Gems to the tag. The arrow comes from Simon Says Stamp Love Letter.


The paperclip was also embossed with silver powder.


I also added a frame, which was embossed and some design tape.


Thank you for visiting!

Happy crafting!

Anna-Karin

Supplies:

* Please note: the links are affiliate links, for which I receive a small percentage of sales generated by the link, at no extra cost to you.


Sunday, April 27, 2025

Spring Art Journal Page

Hi friends! Today I have a spring-themed art journal page to share, with stamping and watercoloring.

Please note: this post has affiliate links, for which I receive a small percentage of sales generated by the link, at no extra cost to you.

Layers of ink - Spring Art Journal Page by Anna-Karin Evaldsson.

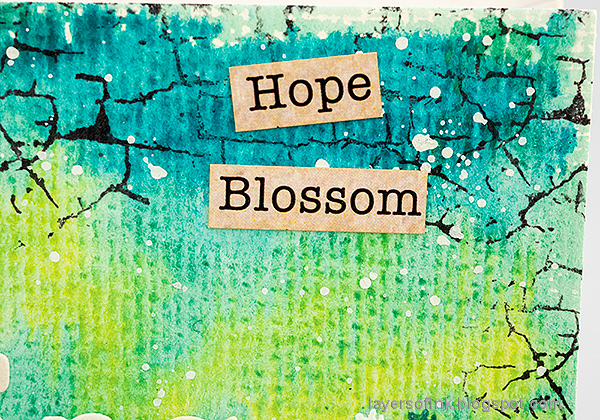
Every year, I am amazed by all the shades of green that appear during spring and this page is all about spring. I used a mix of stamping, watercolors and die cuts and worked in my Stamperia Happiness Mixed Media Journal 4x8.5 in.

Stamp and white emboss Paper Artsy by Alison Bomber.

I stamped plants from Paper Artsy Winter Umbels and Winter Grasses by Alison Bomber and white embossed.

Paint with watercolor paint.

Paint the background with watercolor paint, letting the paints blend on the paper. 

Stamp with Simon Says Stamp Crackle Background.

When dry, restamp the images with Distress Ink, misting with water before stamping. I also stamped Simon Says Stamp Crackle Background here and there.

Splatter with white gouache.


Die cut and stamp sentiments.

The title was die cut with Tim Holtz Sizzix Vault Edge set.


Add more words.


Make the page darker towards the bottom. 


Thank you for visiting!

Happy crafting!

Anna-Karin

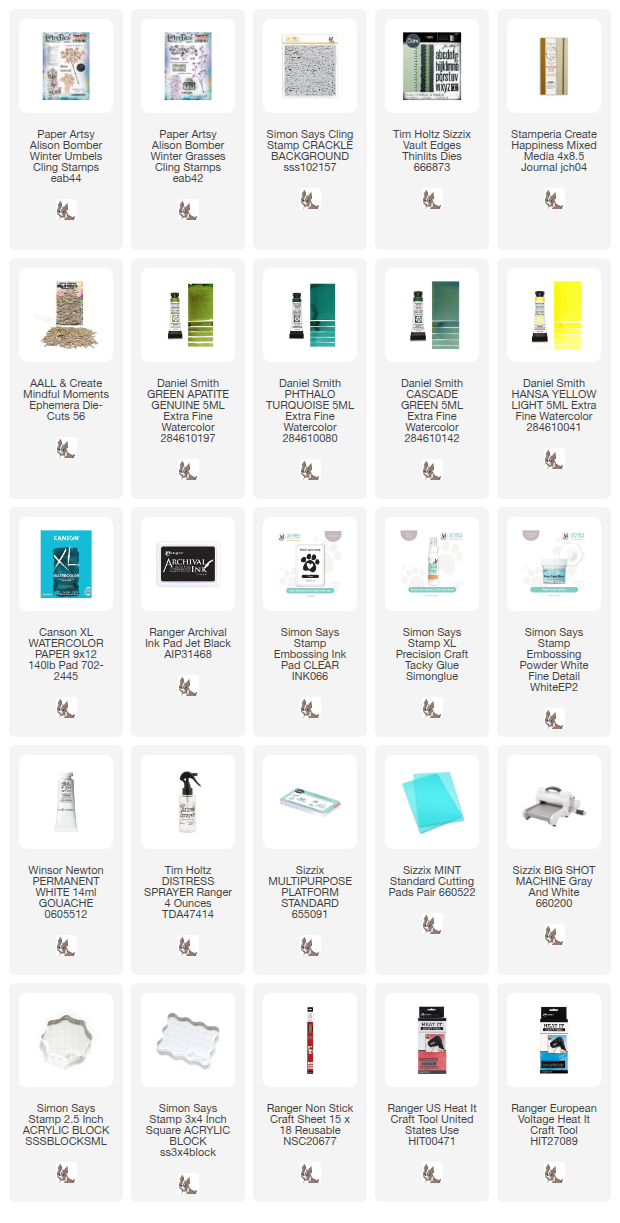
Supplies:

* Please note: the links are affiliate links, for which I receive a small percentage of sales generated by the link, at no extra cost to you.


Sunday, April 20, 2025

Dimensional Floral Card

Hello friends! Today I have a floral card to share, with dimensional flowers die cut from left-over watercolored and inky paper. The background is three different dry embossed papers.

Please note: this post has affiliate links, for which I receive a small percentage of sales generated by the link, at no extra cost to you.

Layers of ink - Dimensional Floristry Card Tutorial by Anna-Karin Evaldsson.

I used Tim Holtz Vault Floristry for the flowers and the top embossed panel. It was fun to arrange the flowers on the card. I also sprinkled gems all over the bouquet of flowers.

Die cut Tim Holtz Vault Floristry.

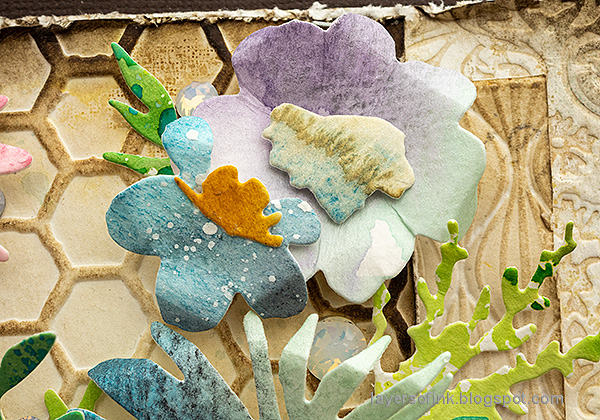
Start by die cutting the flowers from Tim Holtz Vault Floristry from left over watercolor and inky paper. Most of my paper had been watercolored. 

Shape the die cut watercolor flowers.

Shape the flowers with Tim Holtz Shaping Tool Kit and glue together. I used foam tape for some of the flowers. 

Die cut various stems.

I needed some stems too and die cut stems with Simon Says Stamp Fresh Cut Floral Stem, Lily Duo and Poppy Stem

Emboss the folder from Vault Floristry.

I embossed watercolored paper that had already been inked with Distress Inks in light brown shades. Ink the highlight the pattern. 


I found another two dry embossed papers in my scrap box. Distress the edges. The first paper was embossed with Tim Holtz Tapestry, the middle one with Simon Says Stamp Spun Glass, and the last one with the embossing folder that comes with the Vault Floristry set.

Adhere the flowers with foam tape.

When die cutting from leftover papers you can get all kinds of interesting effects and patterns.


Layering dry embossed papers give interest to the background.

Add Simon Says Stamp Pawsitively Dazzling Opal Gems.

I glued Simon Says Stamp Pawsitively Opal Gems here and there among the bouquet of flowers.


Look at your scrap papers to see if there are particularly interesting sections. Sometimes it is fun to place a die where two colors blend or interact.


Using a variety of stems fit well with there being so many different flowers.


The sentiments were stamped with Simon Says Stamp Thank You Basics. 

Layers of ink - Dimensional Floristry Card Tutorial by Anna-Karin Evaldsson.

If you use foam tape here and there for added dimension.

Layers of ink - Dimensional Floristry Card Tutorial by Anna-Karin Evaldsson.

I hope you enjoyed this tutorial! It is a great way to use scraps and get a colorful project at the same time.


Thank you for visiting!

Happy crafting!

Anna-Karin

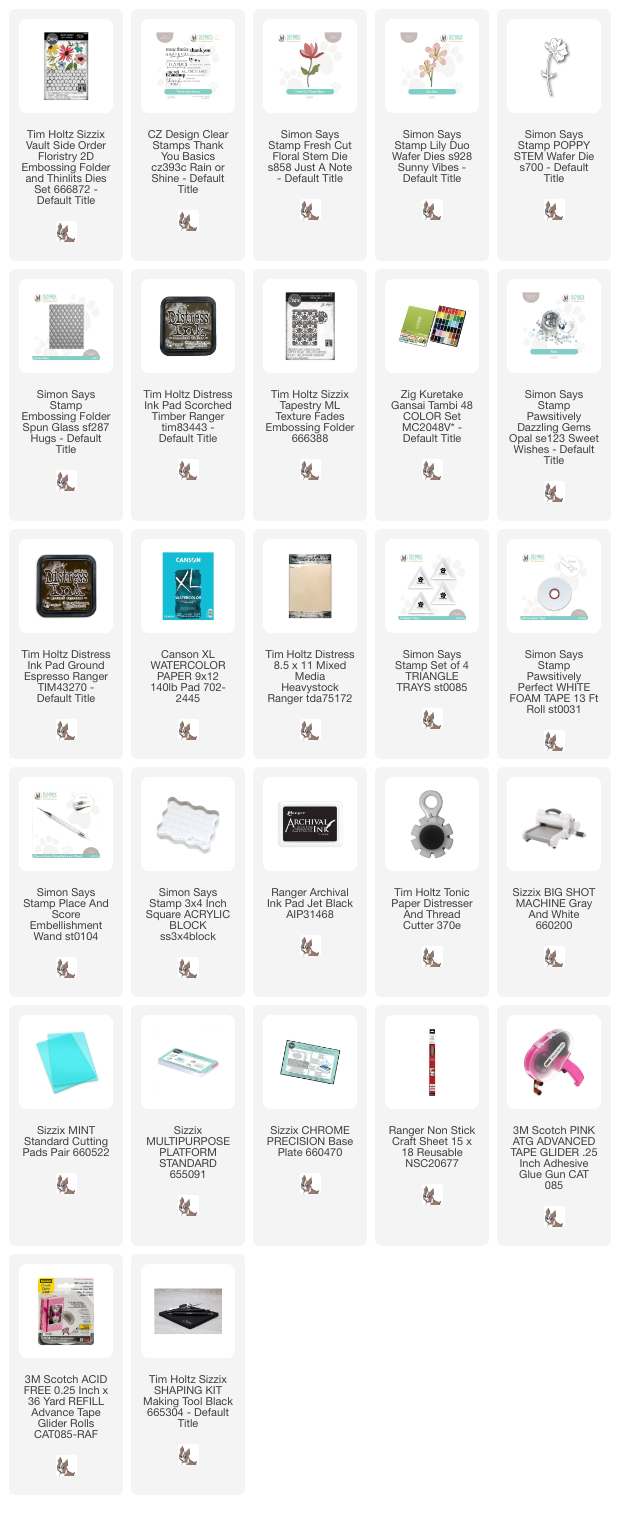
Supplies:

* Please note: the links are affiliate links, for which I receive a small percentage of sales generated by the link, at no extra cost to you.


Monday, April 14, 2025

Sweet TreatsTag

 Hello friends! I hope you had a good weekend! Today I have a spring/Easter tag to share.

Please note: this post has affiliate links, for which I receive a small percentage of sales generated by the link, at no extra cost to you.


This week we have a Sweet Treats theme at the Simon Says Stamp Monday Challenge Blog. I hope you will join us! Don't miss the project by our April guest designer Fiona Whitehead.
.
Layers of ink - Sweet Treats Tag Tutorial by Anna-Karin Evaldsson.

I made a tag featuring a bunny who is out for a walk on a bright spring day and sprinkles sweet treats on the ground. Or is he maybe picking the treats up? The background was inked and stamped and the bunny is colored with pencils. 

Stamp Tim Holtz Spring Sprung.

I started out by stamping one of my favorite stamps by Tim Holtz on a tag. It is from the Spring Sprung set. Using my MISTI, I first stamped the bunny with Simon Says Stamp Pawsitively Saturated Violet ink and then again with black ink (avoiding to ink the jacket, apart from the edges). 

Mask the image, ink and stamp the background.

Stamp the bunny again on Simon Says Stamp Masking Paper and cut out. Ink the background with Distress Ink and stamp with the grass stamp from Spring Sprung and a dot stamp from Tiny Textures. Stamp a sentiment.


The smaller sentiments come from Tim's Holtz Tiny Text and were stamped and cut into strips. The sentiment is from Tim's Warehouse District.

Color the bunny with pencils.

The rest of the bunny was colored with Prismacolor pencils. Use the white pencil to blend the colours. 

Sprinkle Simon Says Stamp Pawsitively Dazzling Gems.

Sprinkle Simon Says Stamp Pawsitively Dazzling Gems on the ground as treats. I used a different colors.

Join us this week in our Sweet Treats challenge! You have a chance to win a $25 gift voucher to do some fun shopping at Simon Says Stamp. You have until Monday 8am Ohio time. 1pm UK time, 2 pm CET to join in.


Do you use Instagram? If so please add #sssmchallenge so we can see your entries there too.


Thank you so much for visiting today! 

Happy crafting!

Anna-Karin

Supplies:

* Please note: the links are affiliate links, for which I receive a small percentage of sales generated by the link, at no extra cost to you.